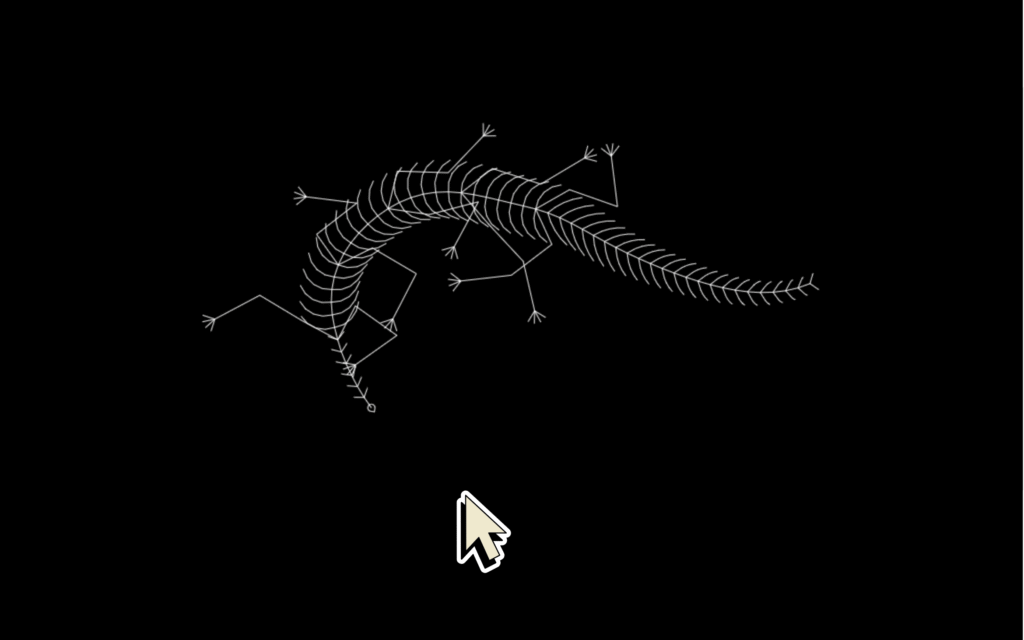
Let’s create a Reptile Interactive Cursor using HTML and JavaScript! 🦎🖱️
This fun project adds a playful, dynamic cursor that reacts like a reptile – stretching, following your mouse, and giving your site a unique personality.
We’ll use:
- HTML to set up a basic structure.
- CSS (optional) for styling the background and elements.
- JavaScript to track the mouse position, animate the cursor, and create that “reptile” effect.
Whether you’re into creative UI or just want a cool mouse effect, this project is perfect for experimenting with DOM events and animation.
HTML :
This HTML file sets up a basic webpage titled “Reptile Interactive Cursor” and links an external JavaScript file (script.js) that runs the interactive reptile animation.
<!DOCTYPE html>
<html lang="en">
<head>
    <meta charset="UTF-8">
    <meta name="viewport" content="width=device-width, initial-scale=1.0">
    <title>Reptile Interactive Cursor | @coding.stella</title>
</head>
<body>
    <script  src="./script.js"></script>
</body>
</html>
JavaScript:
This code creates a complex animated creature that follows the mouse using JavaScript and the HTML5 canvas. It simulates a segmented body system with joints, limbs, and realistic movement by using physics-based calculations and angle constraints. The creature can have legs, tentacles, or tails, and its structure is built using Segment, LimbSystem, and Creature classes. Mouse input controls movement, and different setups like lizard, squid, or tentacle can be rendered with various configurations. The final setup draws a lizard-like creature that crawls toward the cursor.
var tl = gsap.timeline({scrollTrigger:{
    trigger: ".two",
    start: "0% 95%",
    end: "70% 50%",
    scrub: true,
    // markers: true,
}})

tl.to("#fanta",{
    top: "120%",
    left: "0%"
}, 'orange')
tl.to("#orange-cut",{
    top:"160%",
    left: "23%"
}, 'orange')
tl.to("#orange",{
    width: "15%",
    top:"160%",
    right: "10%"
}, 'orange')
tl.to("#leaf",{
    top:"110%",
    rotate: "130deg",
    left: "70%"
}, 'orange')
tl.to("#leaf2",{
    top:"110%",
    rotate: "130deg",
    left: "0%"
}, 'orange')


var tl2 = gsap.timeline({scrollTrigger:{
    trigger: ".three",
    start: "0% 95%",
    end: "20% 50%",
    scrub: true,
    // markers: true,
}})

tl2.from(".lemon1",{
    rotate: "-90deg",
    left: "-100%",
    top: "110%"
}, 'ca')
tl2.from("#cocacola",{
    rotate: "-90deg",
    top: "110%",
    left: "-100%",
}, 'ca')

tl2.from(".lemon2",{
    rotate: "90deg",
    left: "100%",
    top: "110%"
}, 'ca')
tl2.from("#pepsi",{
    rotate: "90deg",
    top: "110%",
    left: "100%",
}, 'ca')

tl2.to("#orange-cut",{
    width:"18%",
    left: "42%",
    top: "204%"
}, 'ca')
tl2.to("#fanta",{
    width:"35%",
    top: "210%",
    left: "33%",
}, 'ca')
In short, building a Reptile Interactive Cursor using HTML and JavaScript is a simple yet exciting way to add interactivity and creativity to your website. 🦎 It’s a fun beginner-friendly project to practice JavaScript animations!
If your project has problems, don’t worry. Just click to download the source code and face your coding challenges with excitement. Have fun coding!
